
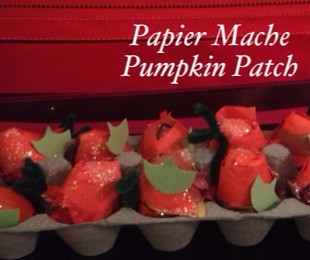
It's almost time for Snoopy to return to the airwaves! And while we wait, we made our own little pumpkin patch.
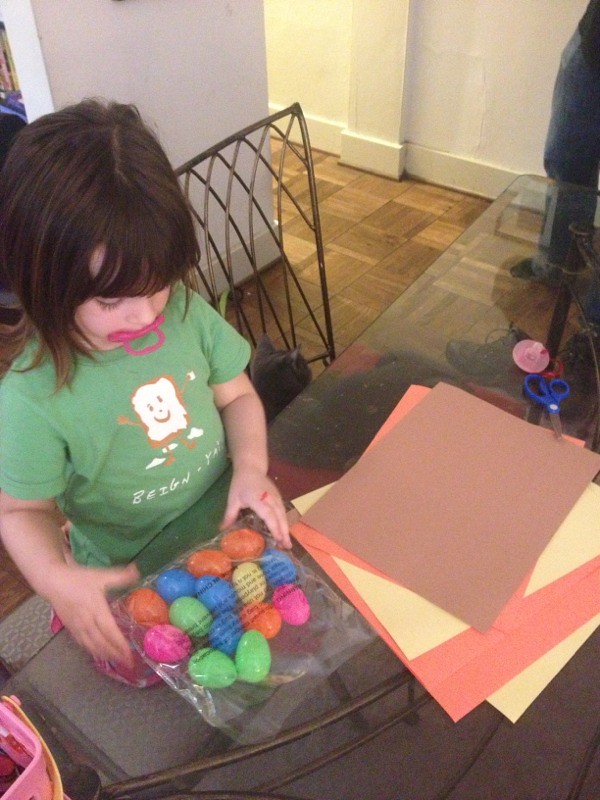
Maddie eyes up our supplies: construction paper, scissors, glue and her favorite, plastic Easter eggs. [A note: yes, I know my three year old still uses a pacify. She has anxiety issues, and so do I. Weekly deposits are being made in the braces fund.]
Here's the step-by-step for making Pumpkin Patch treats:
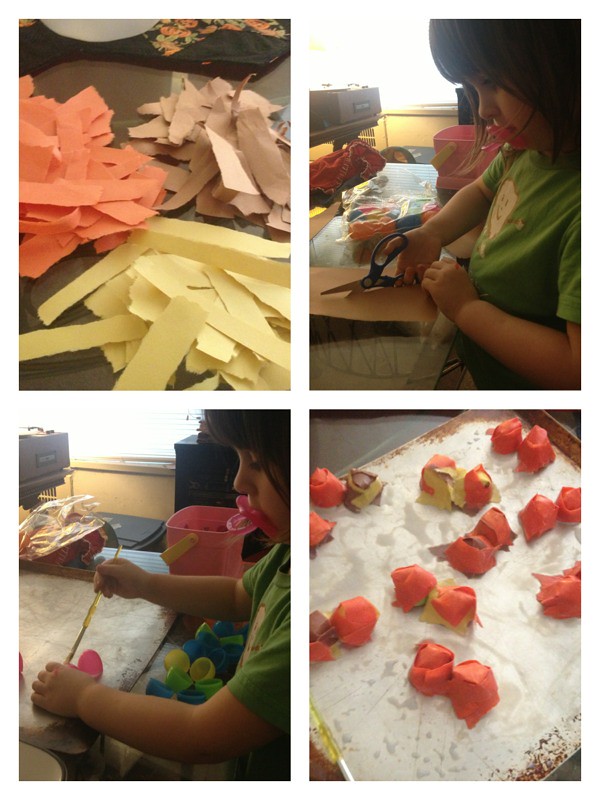
1) Cut or tear orange, yellow and brown construction paper into little strips about 1-2 inches long in varying widths. This is great cutting practice for Maddie. She just went to town on it.
2) Put down a baking sheet under your workspace to make cleanup easy.
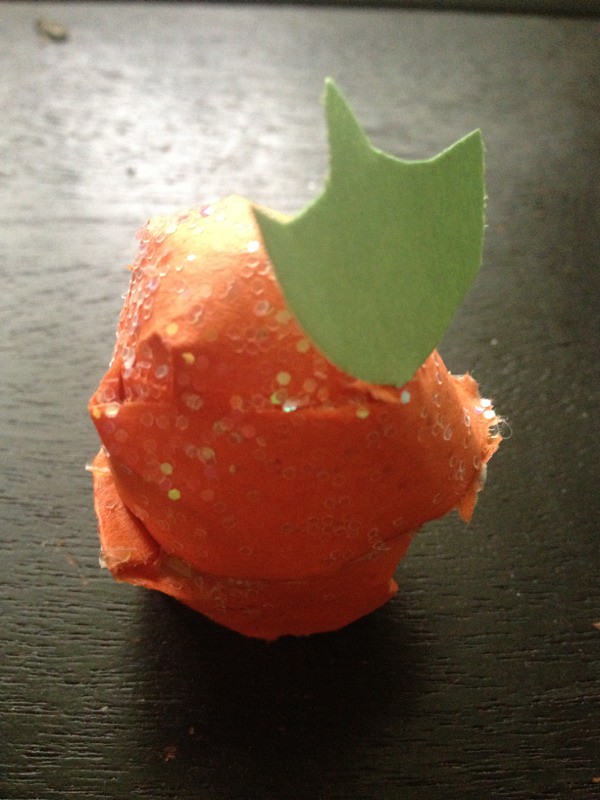
3) Next, mix equal parts Elmer's Glue and warm water. Maddie painted the plastic eggs (make sure they're open first!). Then we got messy and dunked the strips into the glue mixture and wrapped/molded them to the eggs with our hands. You'll need 2-4 layers for each egg. I used brown and yellow paper as a base coat and orange on top, just to give them so depth. (You could also use all orange or go with newsprint and then paint them orange later.)
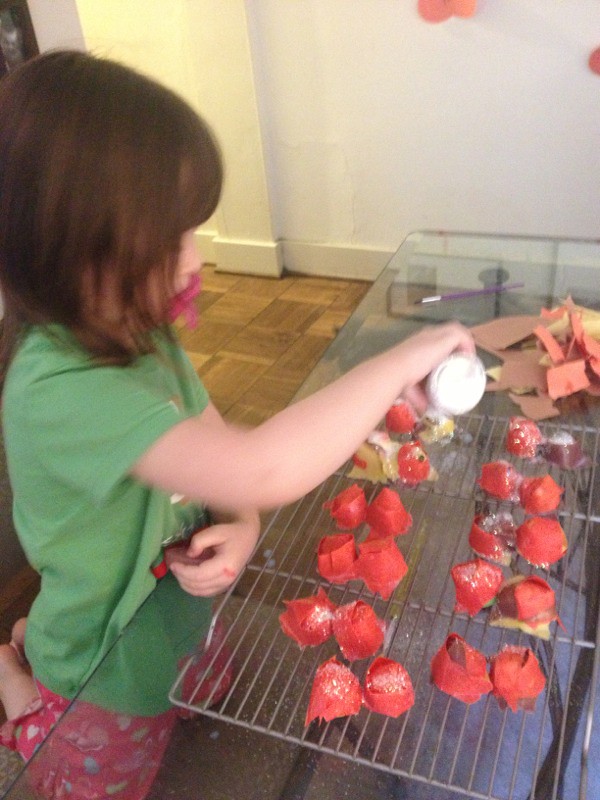
4) Sprinkle pumpkins with a little white glitter. Everything's better with glitter, but the idea here is "the frost is on the pumpkin"!
5)When thoroughly dry (we left ours on a baking rack overnight), fill eggs with a little handful of M&Ms. Use a little paintbrush and paint Elmer's Glue around the rim (or dab a little hot glue instead). Close eggs and papier mâché shell at the same time, gently pressing closed.
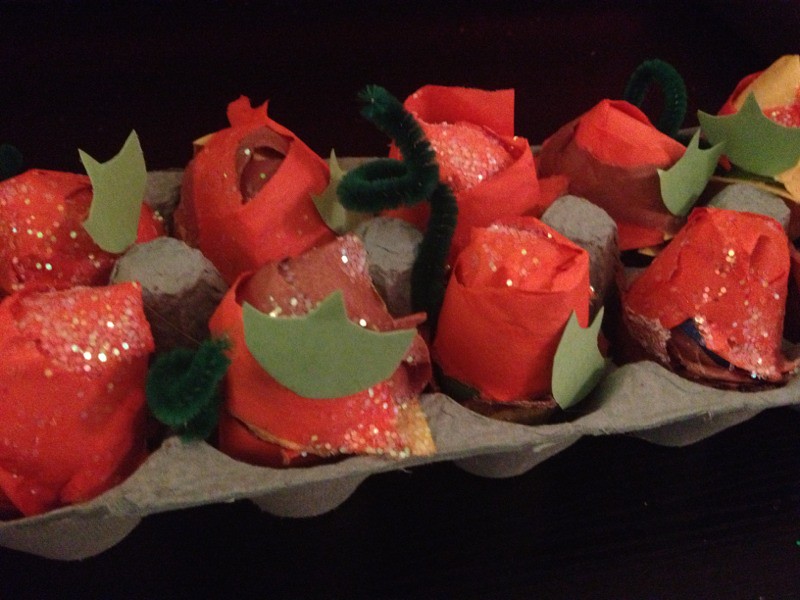
We put our pumpkins in a green colored egg crate to give us the look of a patch or field.

I cut out a few pumpkin leaves to nestle here and there in the patch, dabbing them with a dot of glue to make them stick. A few twisted green pipe cleaners give us a viney look.
Next up, crack open a pumpkin for a special treat!
No comments:
Post a Comment