Wednesday, October 31, 2012

Happy Halloween!

Despite all the craftiness around here, Halloween is going to be a bit overly simple this year.


Because this is the only pumpkin they had left. Yup, it's the cardinal rule of motherhood , and I am practically a veteran: Shop Early!!

I should get those words tattoo. After last year's Express Christmas (TM), a close-call Christmas tree miracle, and the Hershey Kiss free Easter of two years ago, this lesson has been learned.

But alas, this Mom has been schooled.

Last year, we bought our pumpkin early. Hot apartment+ Carved Pumpkin = Big mistake (great science project!) so this year, I bided my time.

My plan was the weekend before Halloween. But Sandy headed our way, plus Rob got called into work, plus we had a tantrum-y Monday ... Equals no pumpkin.

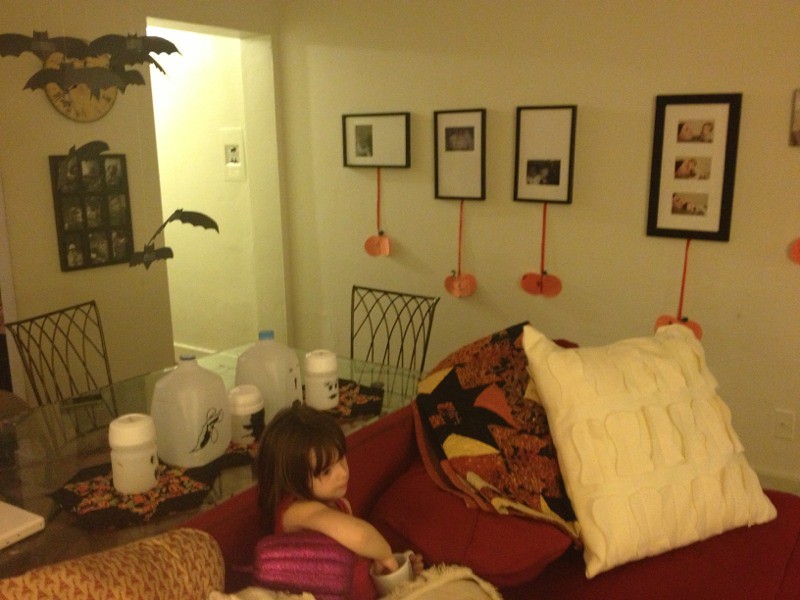
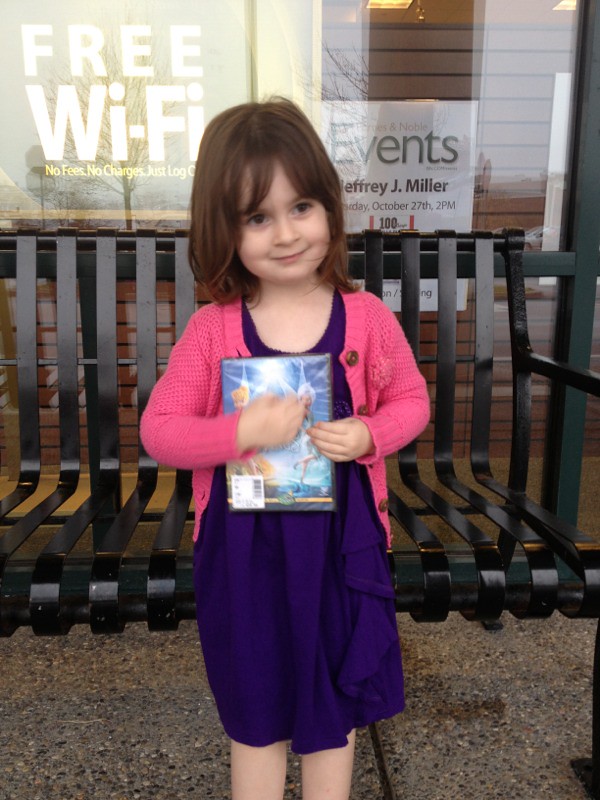
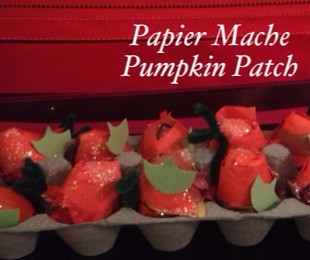
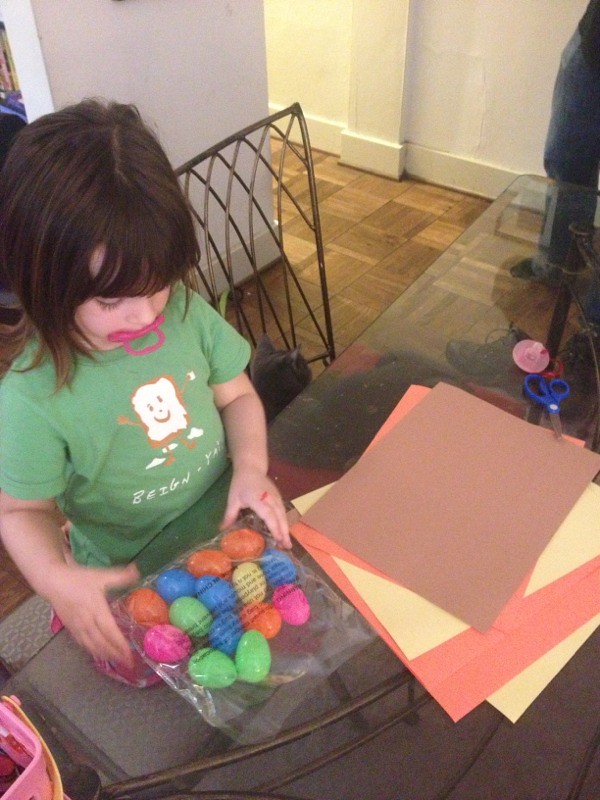
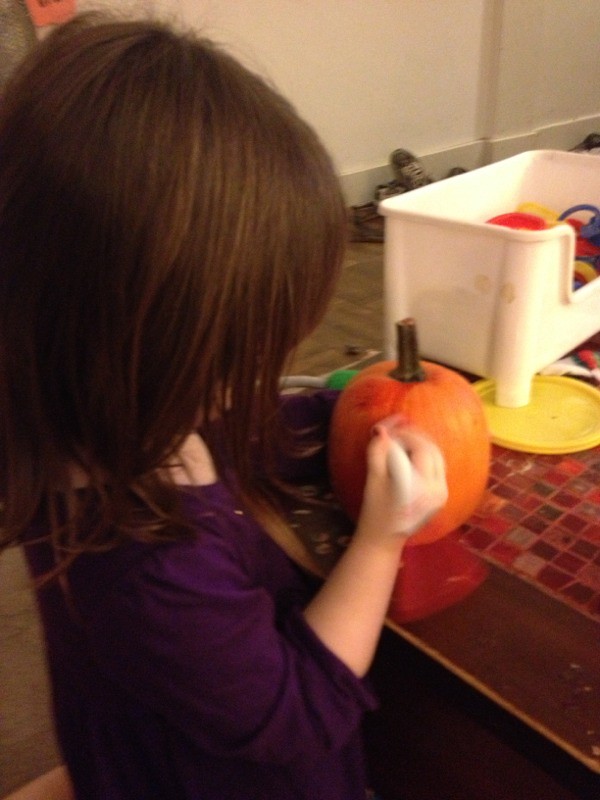
So Tuesday we did the walk of shame at Wegmans and asked the produce guy if they had any pumpkins. With our special treat of pity, we purchased this sad pie pumpkin.

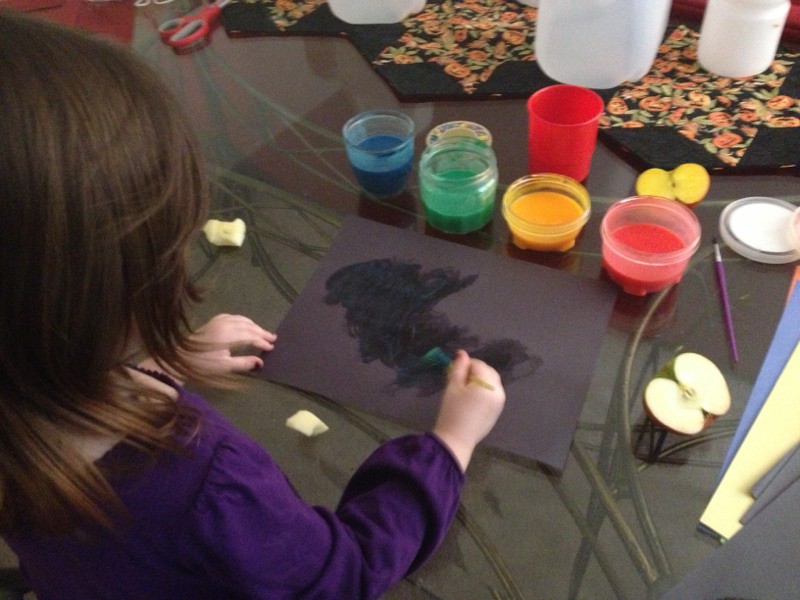
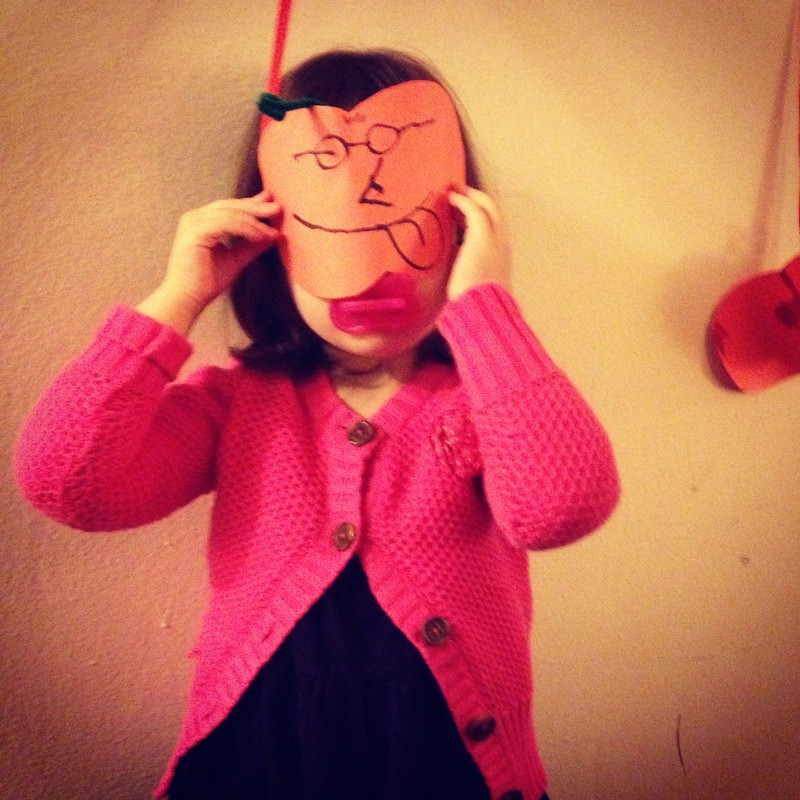
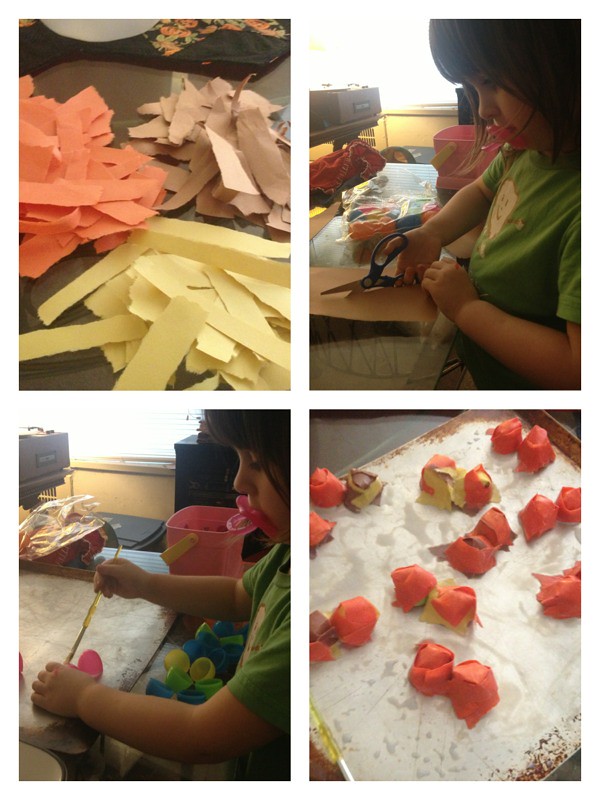
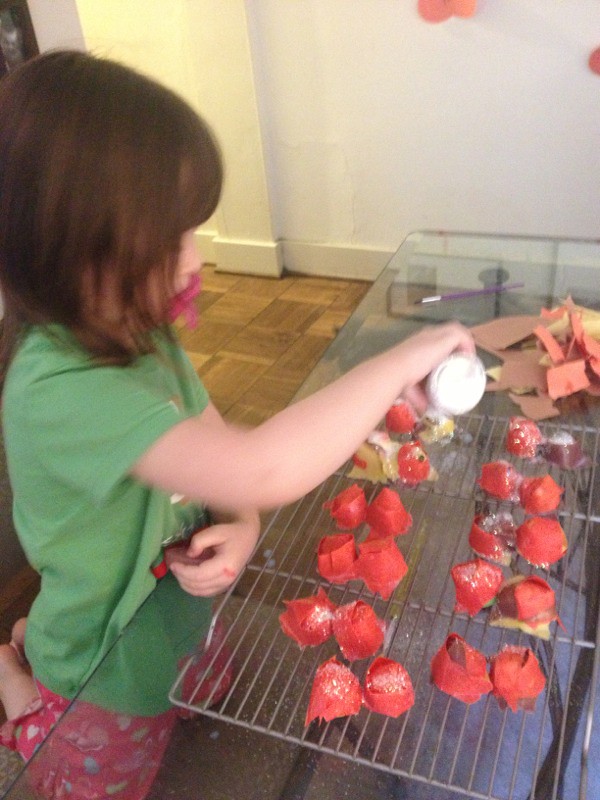
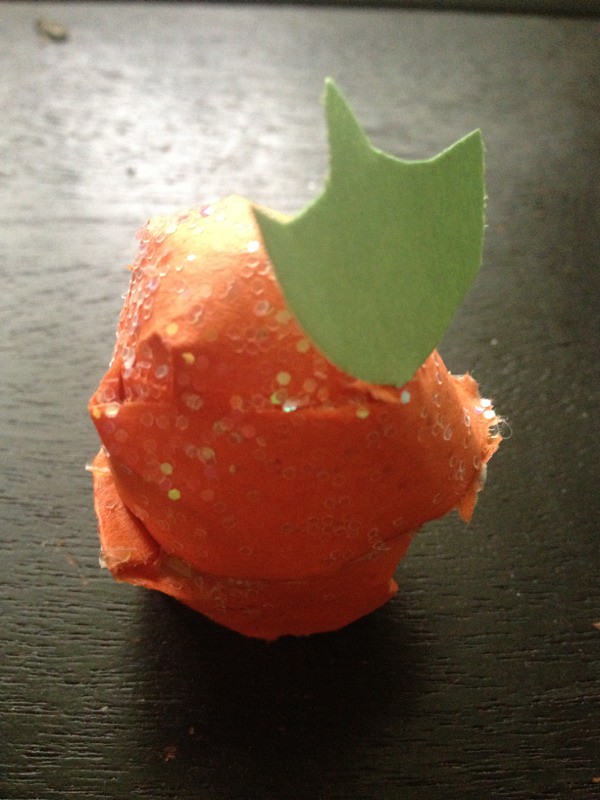
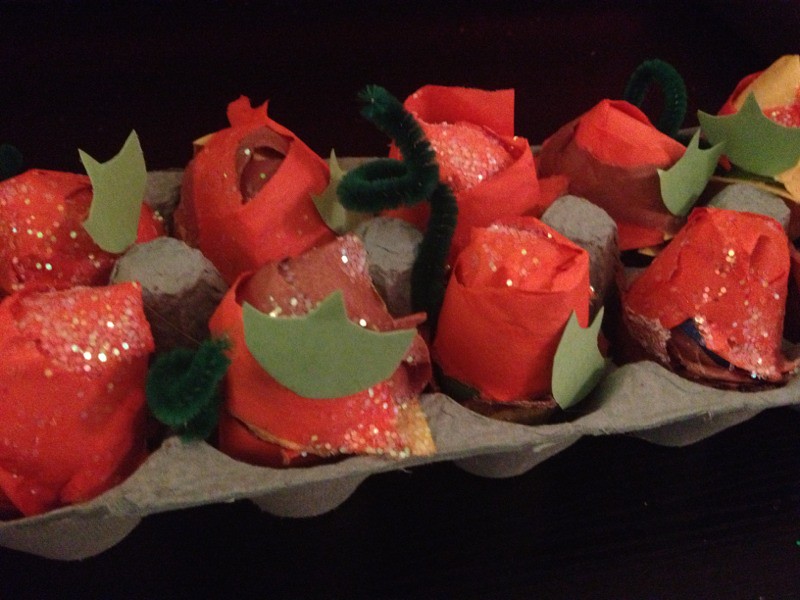
Once we got home, Maddie quickly asked if she could color it. I'm pleased to announce our petite pumpkin really doesn't matter one bit.

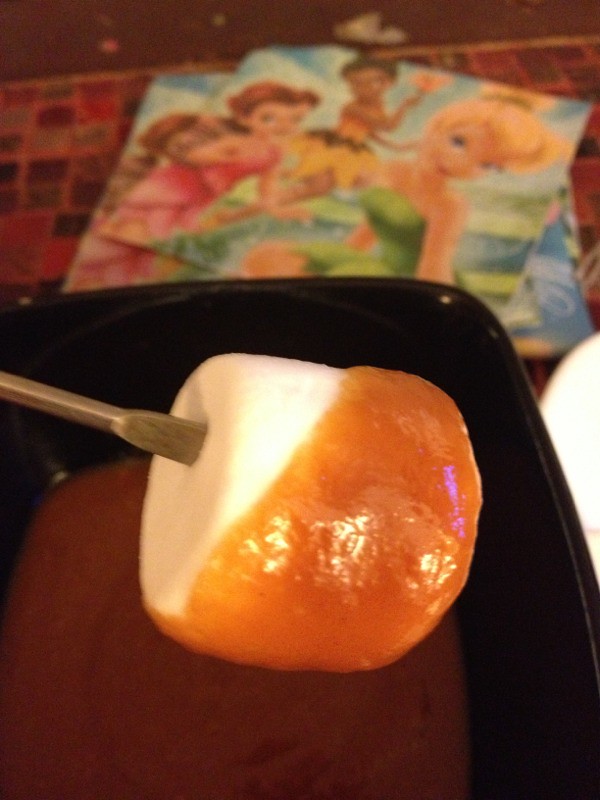
I'll still try for some pumpkin seeds (an attempt to break the curse of last year!) and of course I'm still working on this tradition:


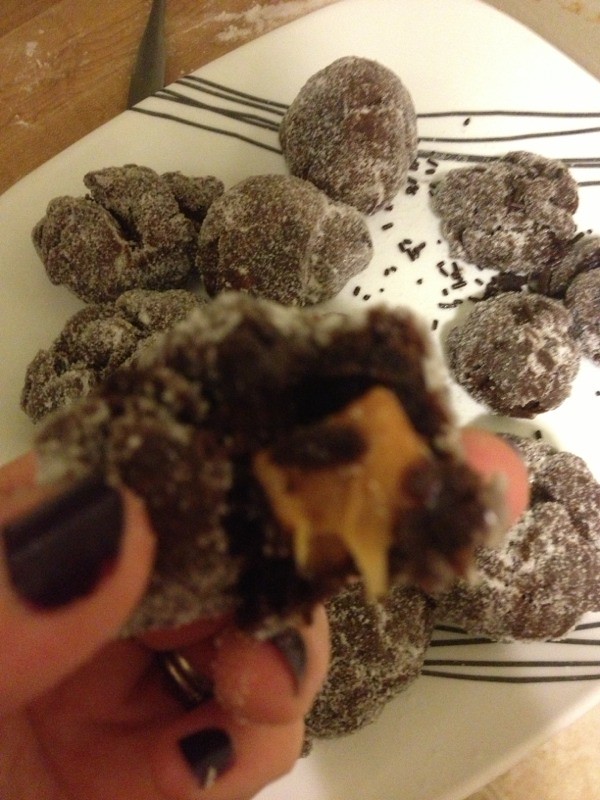
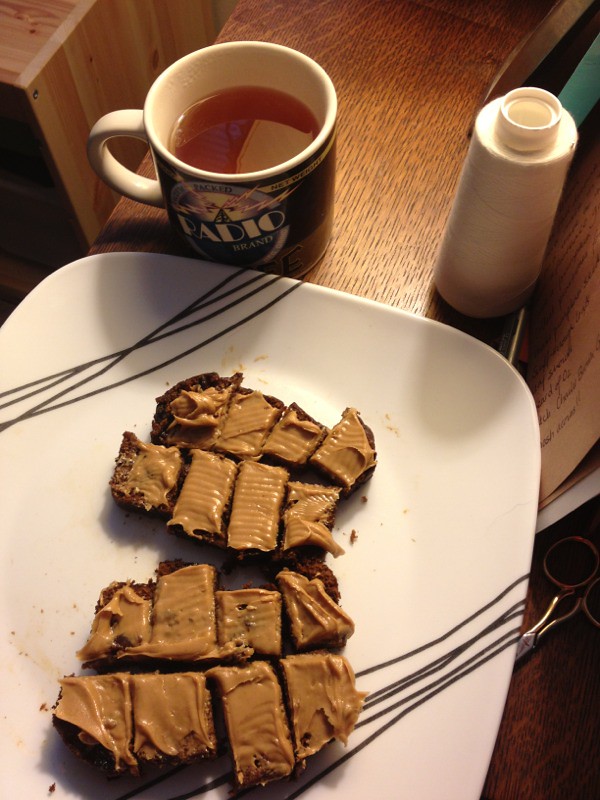
Caramel-filled Chocolate Doughnuts. I am determined to master doughnut making if its the last thing I do. I will be Alice Horton. So help me.

Tuesday, October 30, 2012

"Storm Day"

I feel pretty bad for the East Coast right now as the struggle through Hurricane Sandy. They're doing all the suffering and we're reaping the rewards with our schools closed and just a couple of leaves down. Bwahaha ha!

What to do with an unexpected day off... Hmmm...

Have some Halloween fun of course!


First we found a dark space and took some glasses of water. Then we cracked open our glow sticks and...


Voila, spooky drums! And then Maddie decided she didn't like them because they were crazy.

Then we made some paints.


And set about making some Halloween paintings.


We made two kinds of paint spiderwebs. The first used cardboard and yarn.


Just cut a cardboard circle and cut 8 lines towards the center. Wind yarn around edges and crisscross the center. Then paint it (or dunk it) and press on paper.

This was a little beyond Maddie's level of patience or interest. So then we used cone coffee filters.


(Sorry, terrible photo!) Fold a cone filter accordion style and dunk edges.


Dot the filter around in a hexagon.


And you'll end up with something like this. I used a small brush to extend some axis lines.

Cute, huh? It's nap time now, but this evening we'll hopefully be Halloween. Still have to carve our pumpkin and make doughnuts, my favorite Halloween tradition!

Saturday, October 27, 2012

Decorating for Halloween


My apartment has a pretty big living room/dining room. So sometimes when I decorate it doesn't really have a huge impact. This year I wanted to up the ante a little on Halloween since Maddie really loves it and I'm savoring fall a bit more than usual.

We used some of our decorations from last year and made a few simple additions.


These pumpkins were just to give Maddie a chance to draw faces. If you zoom in you'll easily be able to tell which ones are hers. She drew two then promptly said, "Thanks very much for my help," and walked off.


I think she's been enjoying them!

Every year, I end up making some simple construction paper cutouts. They're fun to do and Easy, so there's no need to save them. This year I went for this:


The Bat Mobile (heh). Thanks to Rob for the spooky photography at 5 am. He's starting to appreciate my crafts enough to Instagram them. Anyway, this is just bats on fishing line, scotch taped to my ceiling. And it's awesome and fun for our space.

I also made some throw pillows covers. Surprise, they're felt. Anyone who knows of my addiction to this wonderful shortcut inspiring fabric will not be surprised.


These are just covers so I can change them out each season. I got this idea from Talk Crafty To Me who found a black-on-black pillow with bats. Here's my ghost version.


I'm pretty proud of my sewing machine skills. This is a close up of my mistake. Can you find it? My bobbin ran out, but I covered it pretty darn well, I think!


This is such a wonderful age. Maddie loves to help, and even helped me pin all my bats.


In the end, I think she's pretty happy with the pillows.


Happy Halloween!

Wednesday, October 24, 2012

Tink Day! and Our Senses: Part 3

Some of you may not be up on your Pixie Hollow lore, but yesterday was a big day. Tinkerbell and the Secret of the Wings came out on dvd.


Yup, we had a copy on reserve for us at Barnes and Noble. I came very close to blowing it all when I forgot my wallet. But I was able to scrounch up enough change to cover our bill.


When we got home we put on our Tinkerbell green.


Maddie got a little more into the festivities, wearing last year's costume (made with love by Grandma).

And then we settled in for our movie night, with a feast worthy of the Winter Woods (that's the setting of this movie, Tinkerbell-novices).


Fondue! This is a really mild version, found in Rachael Ray magazine from October 2008 (yup, found that laying around my house and it proved pretty useful!) I know i said mild fondue and the recipe actually says spicy, but i just skipped the chipotles -- thus mild. For the preschool edition of fondue, I made everything on the stove then transferred to my fondue pot but without a flame. We used hot dogs, broccoli, apples and pretzel sticks for dunking.


Then came this delectable dessert fondue, from the same Rachael Ray magazine: Butterscotch Fondue.


This time we used more pretzel sticks and apples, plus marshmallows, grapes and Annie's organic bunnies.

After the movie we played a little game to learn about our hearing: Tinkerbell Hide and Seek.


I tied some jingle bells around Tink's hair -- very appropriate since Tinkerbell jingles when she talks. Then we took turns hiding with Tinkerbell and making her jingle. Maddie learned she could follow the sound to find Tinkerbell.


She got pretty into it. Maddie and Tink hide behind a shelf and a closet in the pictures above. Now maybe when we play hide and seek, Maddie will remember this and be quiet when hiding. Probably not.


Saturday, October 20, 2012

Our pumpkin patch


It's almost time for Snoopy to return to the airwaves! And while we wait, we made our own little pumpkin patch.


Maddie eyes up our supplies: construction paper, scissors, glue and her favorite, plastic Easter eggs. [A note: yes, I know my three year old still uses a pacify. She has anxiety issues, and so do I. Weekly deposits are being made in the braces fund.]

Here's the step-by-step for making Pumpkin Patch treats:


1) Cut or tear orange, yellow and brown construction paper into little strips about 1-2 inches long in varying widths. This is great cutting practice for Maddie. She just went to town on it.

2) Put down a baking sheet under your workspace to make cleanup easy.

3) Next, mix equal parts Elmer's Glue and warm water. Maddie painted the plastic eggs (make sure they're open first!). Then we got messy and dunked the strips into the glue mixture and wrapped/molded them to the eggs with our hands. You'll need 2-4 layers for each egg. I used brown and yellow paper as a base coat and orange on top, just to give them so depth. (You could also use all orange or go with newsprint and then paint them orange later.)


4) Sprinkle pumpkins with a little white glitter. Everything's better with glitter, but the idea here is "the frost is on the pumpkin"!


5)When thoroughly dry (we left ours on a baking rack overnight), fill eggs with a little handful of M&Ms. Use a little paintbrush and paint Elmer's Glue around the rim (or dab a little hot glue instead). Close eggs and papier mâché shell at the same time, gently pressing closed.


We put our pumpkins in a green colored egg crate to give us the look of a patch or field.


I cut out a few pumpkin leaves to nestle here and there in the patch, dabbing them with a dot of glue to make them stick. A few twisted green pipe cleaners give us a viney look.

Next up, crack open a pumpkin for a special treat!

Wednesday, October 17, 2012

Our Senses: Part 2 - Sight

Maddie and I are learning about our senses this month. This little experiment is a bit of a scavenger hunt and applies to our sense of sight. (Plus it lets us play with technology!)

For set-up, I took close up photos of 12 things throughout our living/dining room.


Here are four images (clockwise from top left: our couch, a wicker chair, a photo bulletin board, our parquet floors.)

Next I gave Maddie my phone so she could try to match the photos up with the item.


You better believe that my sarcophagus cd case made it in this project!


A pillow made with ribbons from our wedding.


Maddie's book basket.

(If you're not a fan of kids using phones/cameras, you could also print photos.)

Maddie loved this game. She only had trouble with one or two pictures. And at the end, she told the cat, "I am so proud of me."

The nice thing about this was that our discussion of what we see also involved a discussion about how things look like they feel. Visual texture can be a bit hard to grasp, but this popped right into the discussion.

I'm working on another project on the senses. Check back for more next week!

Monday, October 15, 2012

Pumpkiny Goodness


(Yummy.... Pumpkin Raisin Bread with peanut butter and hot tea!)
Ah yes, fall. And to me, fall means only two things. Pumpkin baked goods and doughnuts. So far, I've pinned 5,000 recipes for pumpkin bread/muffins/cookie bars and 5,000 recipes for doughnuts. And another 5,000 recipes for pumpkin doughnuts.
And hey, pumpkin's a vegetable so anything you bake with it is instantly healthy. Right?
I'm sharing my recipe for pumpkin bread for you here. It's amazingly good and easy too. I usually make one loaf for insta-eating and two dozen muffins that I freeze (so I can grab one on my way to work).
Alex's Pumpkin Raisin Bread:
Preheat the oven to 350 degrees. Grease your bread (or muffin) pans. Mix all dry ingredients first and then add wet ingredients:
3 cups white sugar
2 teaspoons cinnamon
3 cups flour
2 teaspoons baking soda
4 eggs
28 ounces (2 small cans) of solid pack pumpkin
3/4 cup applesauce
2 cups raisins (stir in at end)
Fill loaf pans 2/3 of the way full and muffin tins 3/4 full. Bread should bake for 1 hour and muffins about 30-35 minutes.
I love this bread with a little bit of peanut butter or cream cheese.
***Note to self, do not ask husband to turn off oven when timer goes off when he is in the middle of waiting for Drew Brees to break a record.
***Note to readers, this bread even tastes pretty good when it's overcooked! Still moist!
***Note to Natalie, sorry I said "moist", but it fit.

Saturday, October 13, 2012

Making Spiders


The other day my mom surprised me with this little kit:


I think she got it from Jo-Ann's. it's a spider kit, that makes three pompom/felt/pipe cleaner spiders.

Maddie had a blast helping me with this but we made our pipe cleaner legs too long and thus a) our spiders only have six legs and b) we had to get a little funky:


This is the Daddy spider, because apparently daddies have crazy striped arms.

These pipe cleaners were part of an awesome craft supply bag I got at Target for about $2.


It had regular pipe cleaners and pompous galore, plus sparkly poms and pipe cleaners AND googly eyes of all sizes.

So once we made our three spiders from the kit (quickly dubbed "Maddie, Mommy and Daddy"), we had to keep going and make spiders to represent the cats.


They were very involved in the process (yes, that is a 30 pound cat. He's on a diet. Don't judge.)

And then we just had to keep going so we made some monstery stick puppets.


I'm loving how Maddie chooses to model things lately.


Our monsters and spiders are currently at home on top of my television which is helping make the actual cobweb on my wall look planned. Thank you craft day!

Of course once we got crafting and hot gluing we just had to make a fairy wand.


This actually looks like a hazards to avoid poster. How many dangers can you spot?


Wednesday, October 10, 2012

Fall Nature Walk


Long ago, when I first started thinking about science for my science kid, I talked with my friend Melisa. She had told me, "science for kids is easy. Just take them for a walk!" (I use the quotes loosely because as I said this was a long time ago.

Well, Melisa, you're right. Certainly the best way to get kids interested by science at this time of year is by looking at our ever changing world. So today Maddie and I braved the elements (50 degrees, rough --I know!) and took a nature walk.

We focused on three things: nuts/seed pods, leaves, and falling asleep in the stroller after a really long walk.


Along the way we also found this. One of our neighbors just cut down a tree. And there was a seed pod stuck in it! Score!

We collected some cool looking leaves. I'm not gonna lie -- I found the cool leaves. Mads is a big fan of dead leaves. This is a bouquet she gathered on a recent trip to Niagara-On-The-Lake:


Cute, but dead.

After our collecting was done we got to do some playing with the app Leafsnap. It's supercool! Just snap a photo of a leaf on a piece of white paper and upload.


Leafsnap will tell you what kind of tree it is. Again, I'm not going to lie. This science project was more for me than my daughter.


Here's a sampling of what we found. Here's what Maddie did while I leafsnapped:


Maddie did get involved at looking at nuts and seeds.


She helped sort acorns, chestnuts and seed pods. Then she took them someplace, saying she had taken all the money. Maybe she'll go into business. I hope she chooses that over shopaholic-ing.