Tuesday, October 30, 2012

"Storm Day"

I feel pretty bad for the East Coast right now as the struggle through Hurricane Sandy. They're doing all the suffering and we're reaping the rewards with our schools closed and just a couple of leaves down. Bwahaha ha!

What to do with an unexpected day off... Hmmm...

Have some Halloween fun of course!
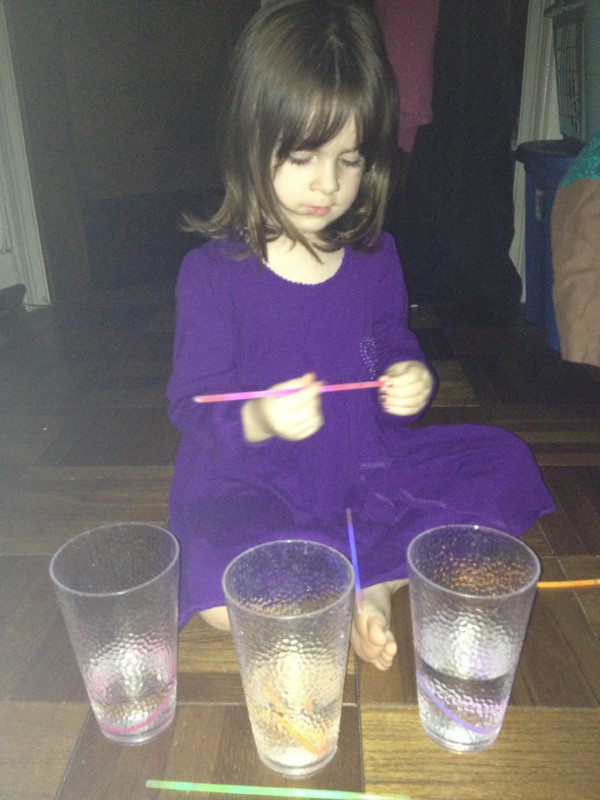


First we found a dark space and took some glasses of water. Then we cracked open our glow sticks and...
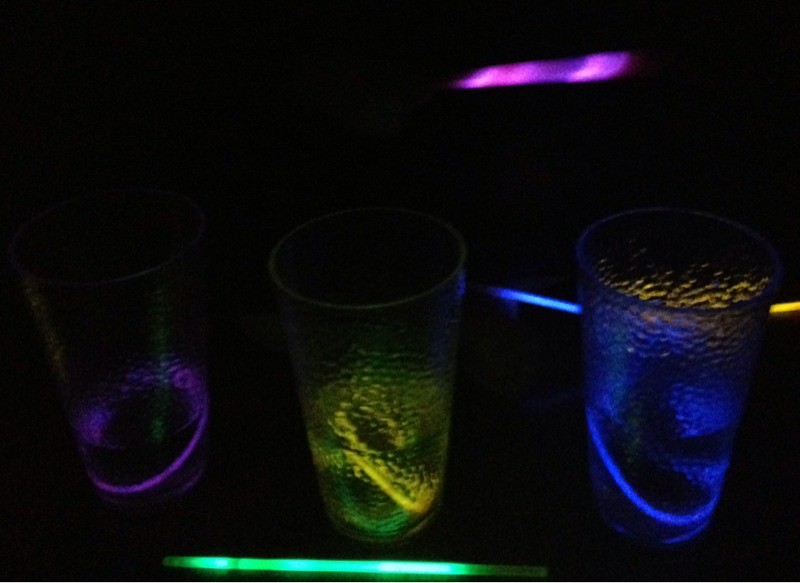


Voila, spooky drums! And then Maddie decided she didn't like them because they were crazy.

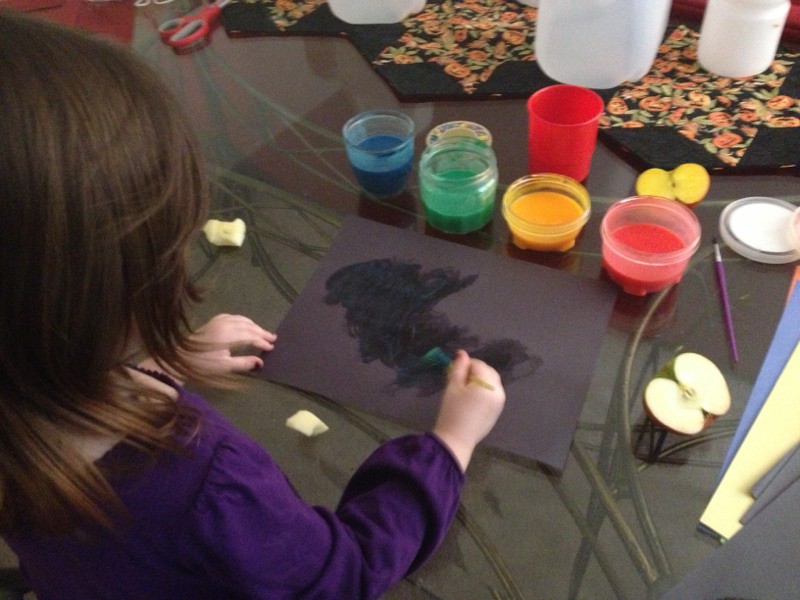
Then we made some paints.
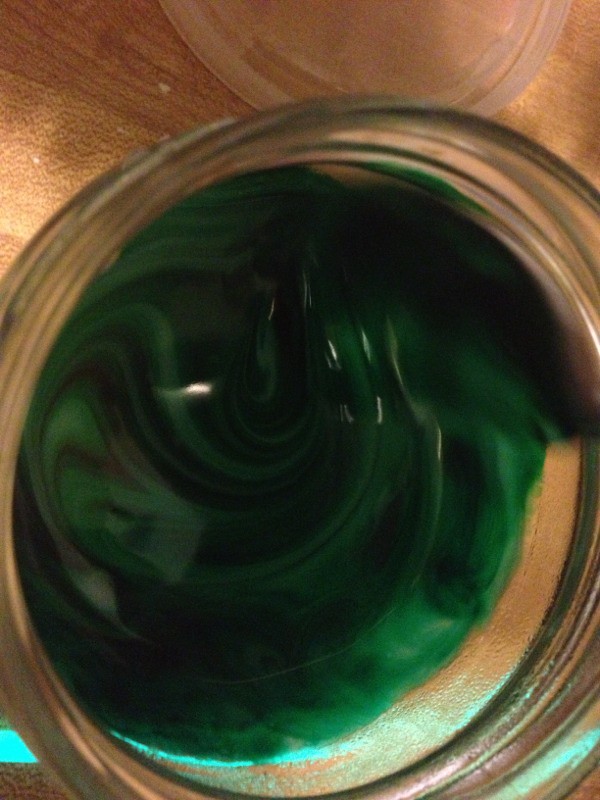


And set about making some Halloween paintings.


We made two kinds of paint spiderwebs. The first used cardboard and yarn.
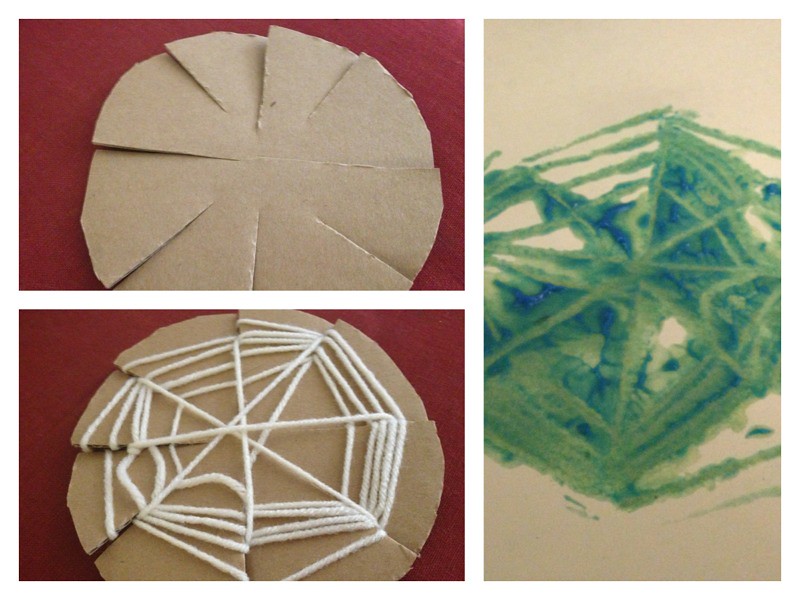


Just cut a cardboard circle and cut 8 lines towards the center. Wind yarn around edges and crisscross the center. Then paint it (or dunk it) and press on paper.

This was a little beyond Maddie's level of patience or interest. So then we used cone coffee filters.
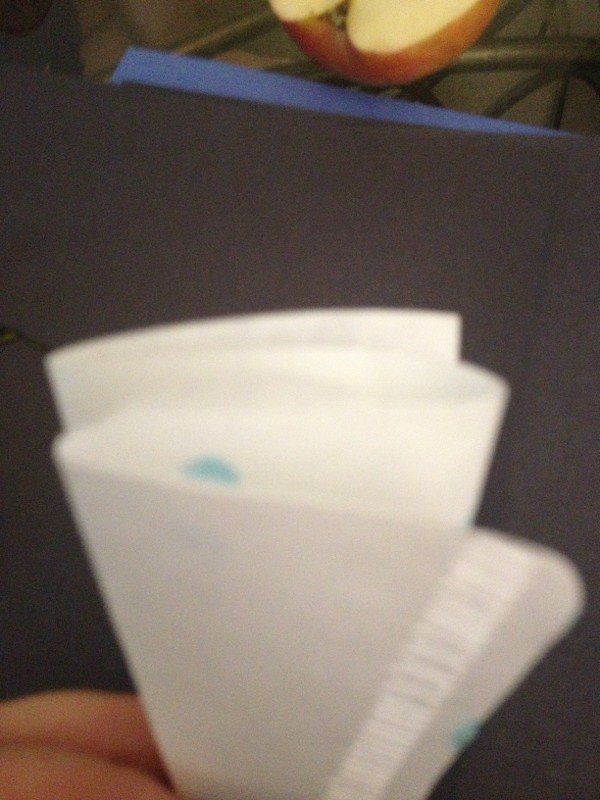


(Sorry, terrible photo!) Fold a cone filter accordion style and dunk edges.
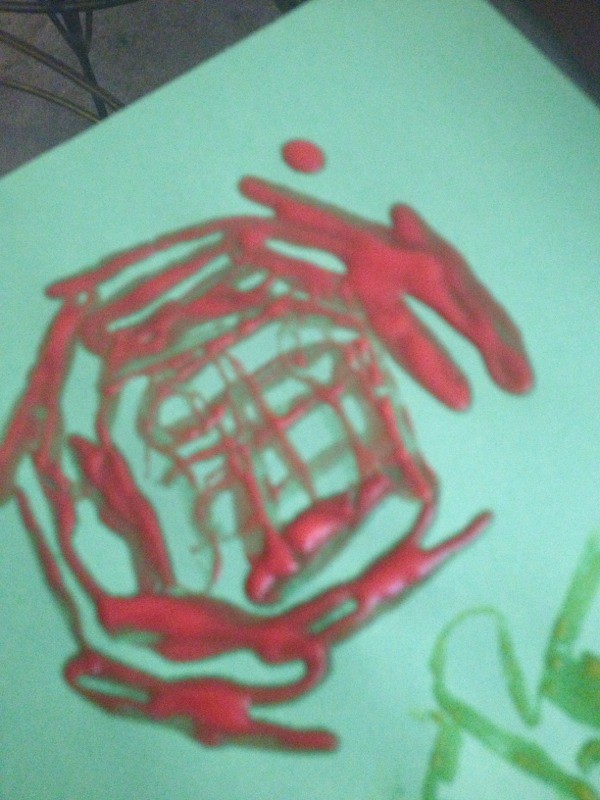


Dot the filter around in a hexagon.
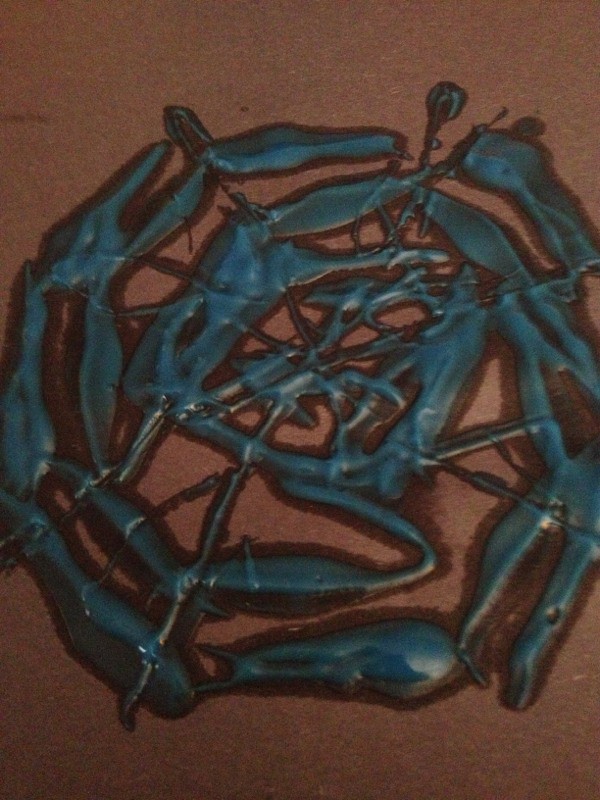

And you'll end up with something like this. I used a small brush to extend some axis lines.

Cute, huh? It's nap time now, but this evening we'll hopefully be Halloween. Still have to carve our pumpkin and make doughnuts, my favorite Halloween tradition!

Saturday, October 27, 2012

Decorating for Halloween


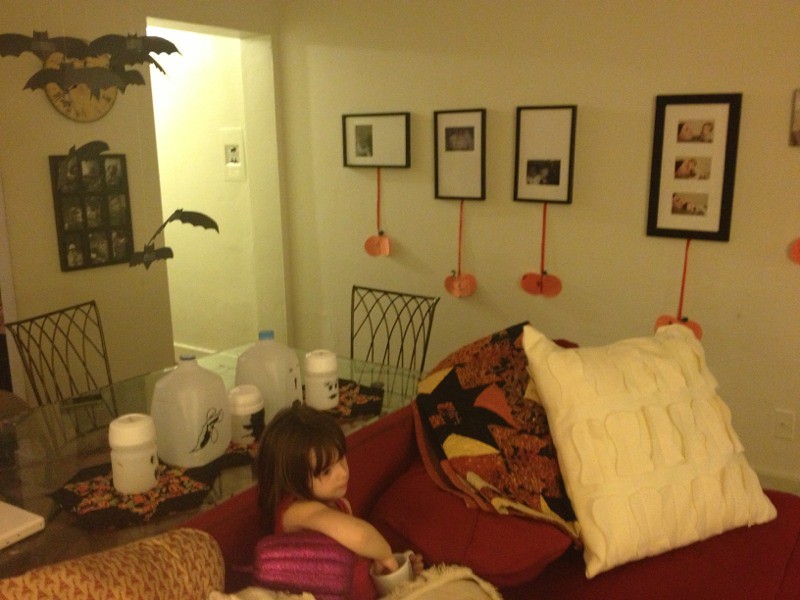
My apartment has a pretty big living room/dining room. So sometimes when I decorate it doesn't really have a huge impact. This year I wanted to up the ante a little on Halloween since Maddie really loves it and I'm savoring fall a bit more than usual.

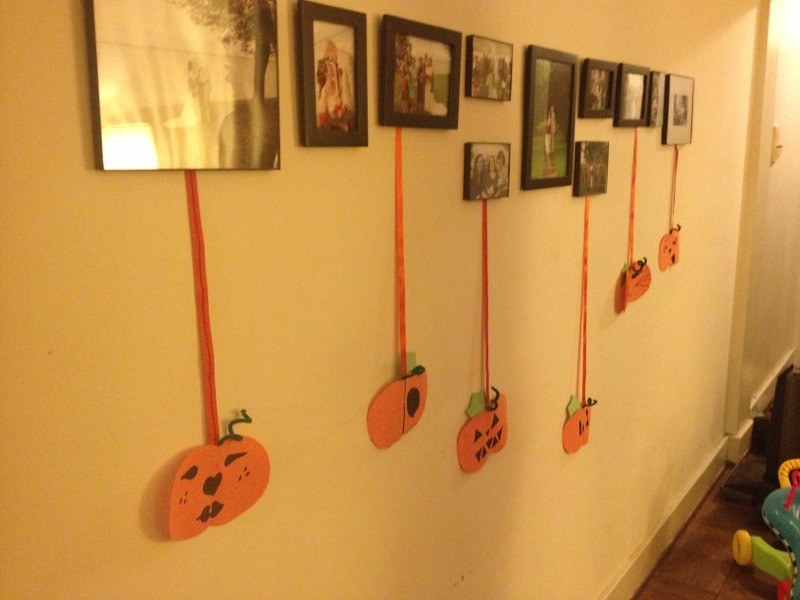
We used some of our decorations from last year and made a few simple additions.


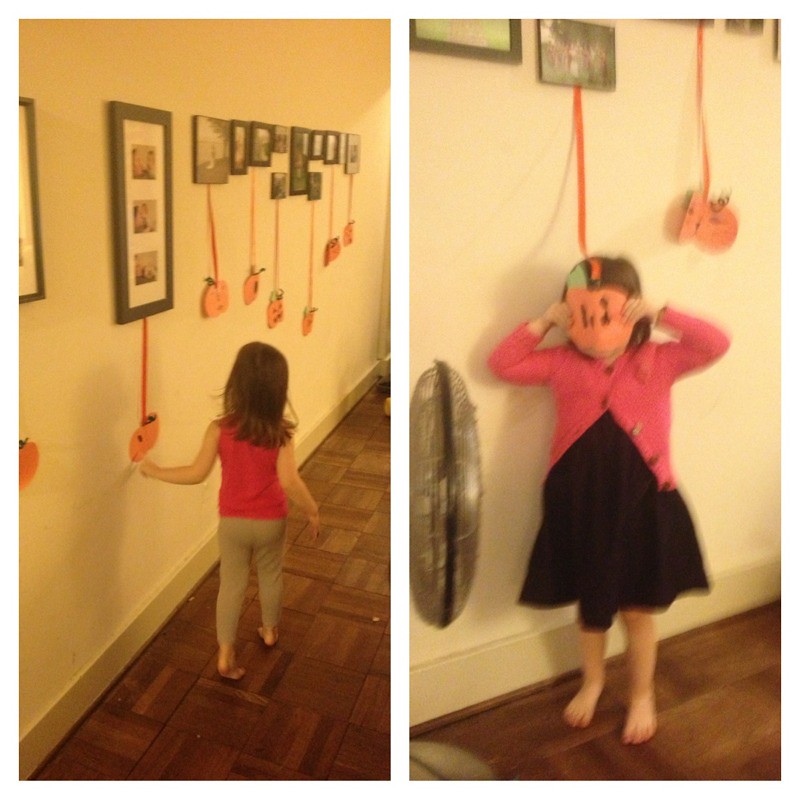
These pumpkins were just to give Maddie a chance to draw faces. If you zoom in you'll easily be able to tell which ones are hers. She drew two then promptly said, "Thanks very much for my help," and walked off.


I think she's been enjoying them!

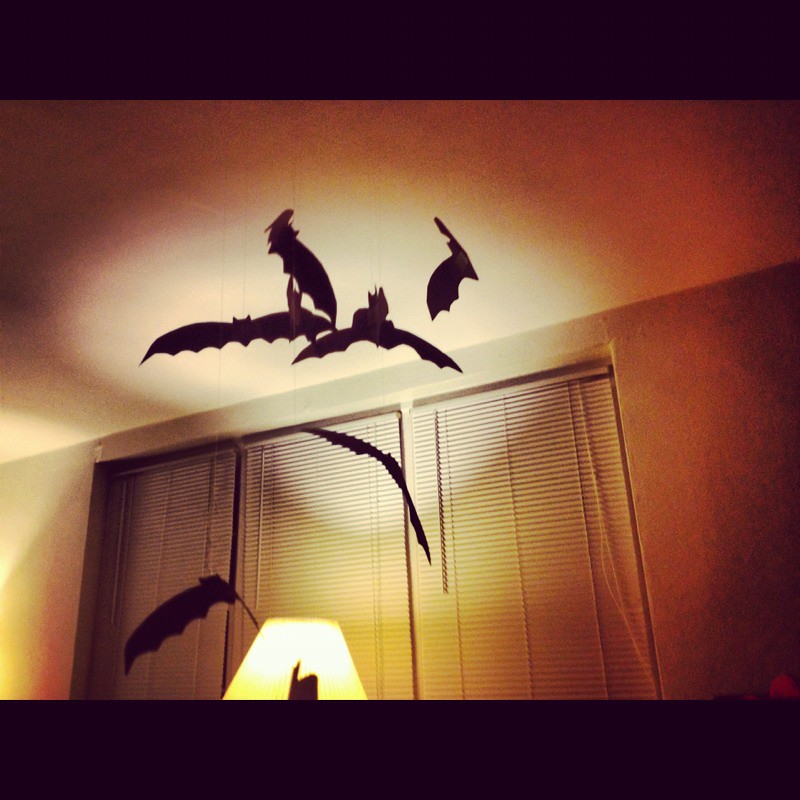
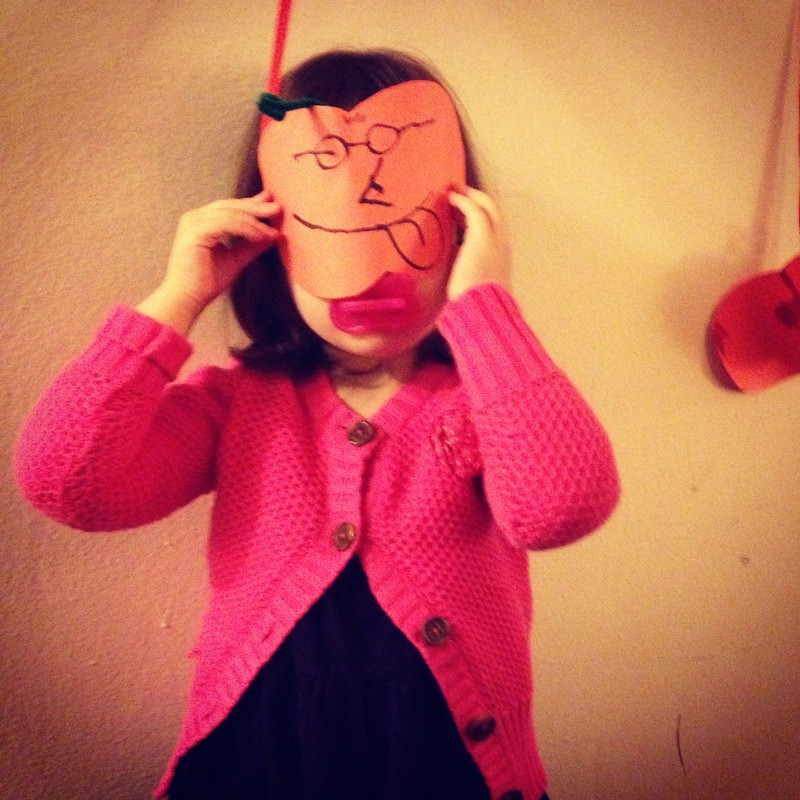
Every year, I end up making some simple construction paper cutouts. They're fun to do and Easy, so there's no need to save them. This year I went for this:


The Bat Mobile (heh). Thanks to Rob for the spooky photography at 5 am. He's starting to appreciate my crafts enough to Instagram them. Anyway, this is just bats on fishing line, scotch taped to my ceiling. And it's awesome and fun for our space.

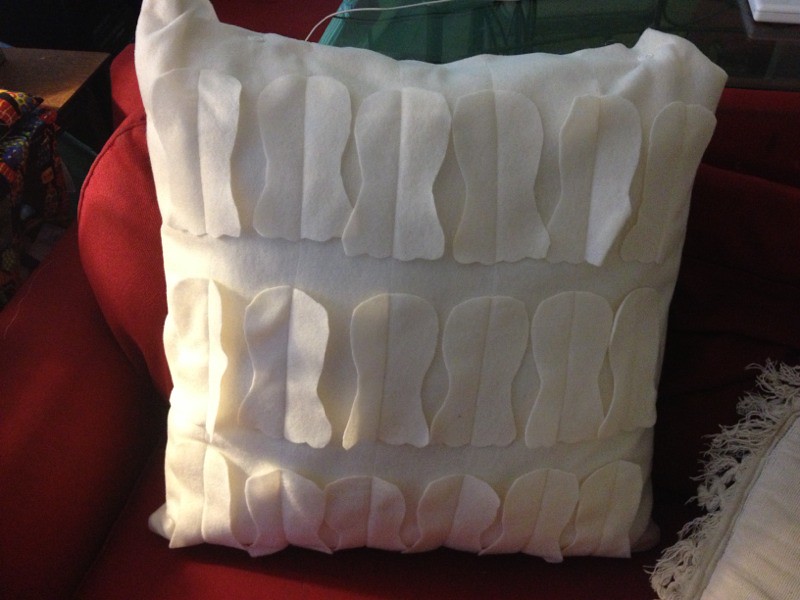
I also made some throw pillows covers. Surprise, they're felt. Anyone who knows of my addiction to this wonderful shortcut inspiring fabric will not be surprised.


These are just covers so I can change them out each season. I got this idea from Talk Crafty To Me who found a black-on-black pillow with bats. Here's my ghost version.


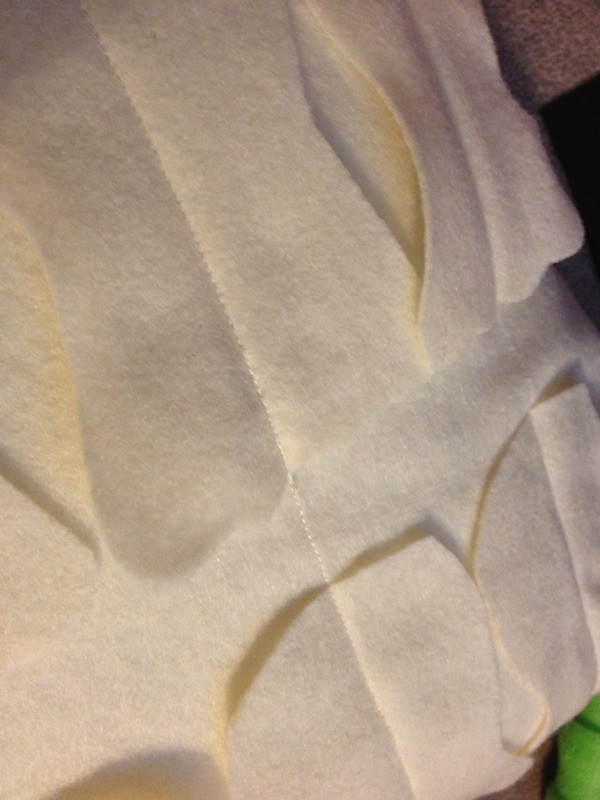
I'm pretty proud of my sewing machine skills. This is a close up of my mistake. Can you find it? My bobbin ran out, but I covered it pretty darn well, I think!


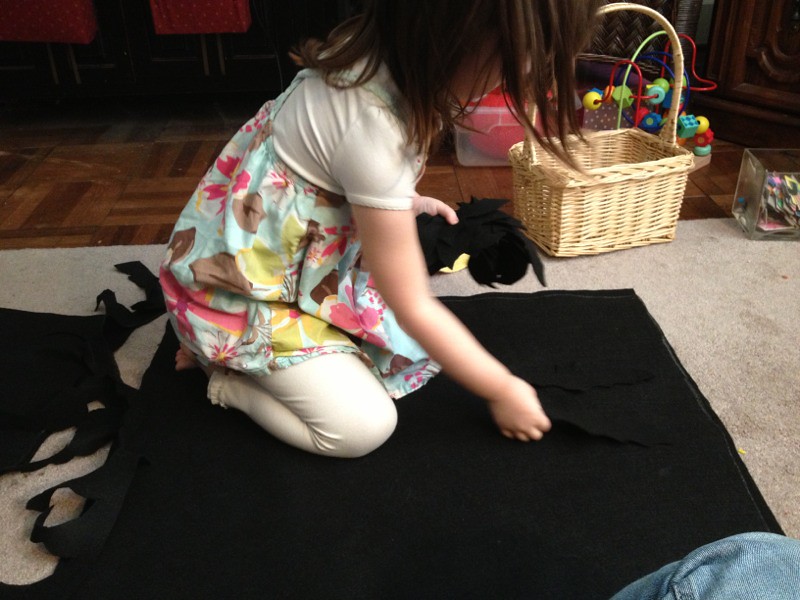
This is such a wonderful age. Maddie loves to help, and even helped me pin all my bats.


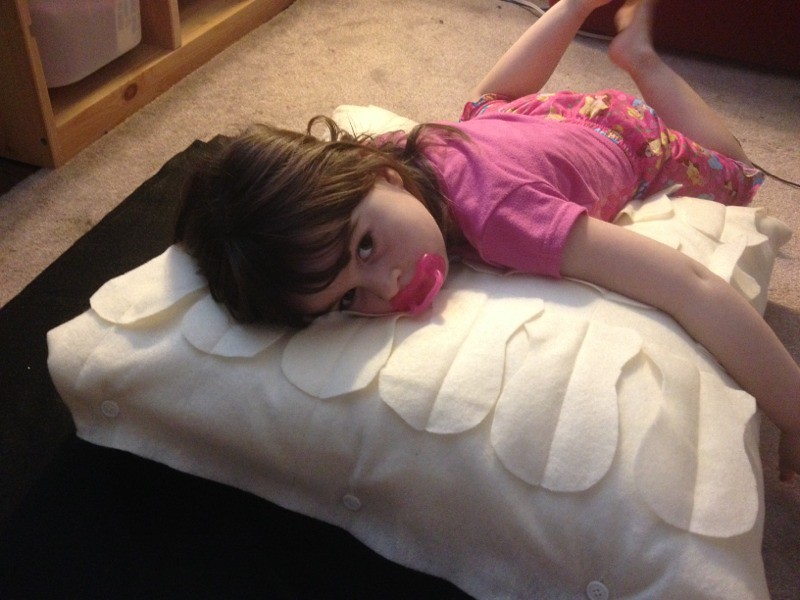
In the end, I think she's pretty happy with the pillows.


Happy Halloween!

Wednesday, October 24, 2012

Tink Day! and Our Senses: Part 3

Some of you may not be up on your Pixie Hollow lore, but yesterday was a big day. Tinkerbell and the Secret of the Wings came out on dvd.


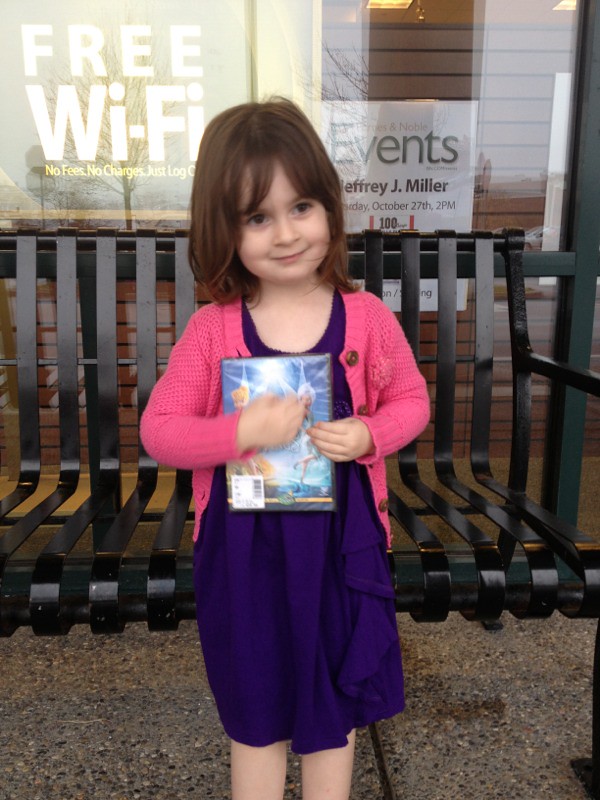
Yup, we had a copy on reserve for us at Barnes and Noble. I came very close to blowing it all when I forgot my wallet. But I was able to scrounch up enough change to cover our bill.


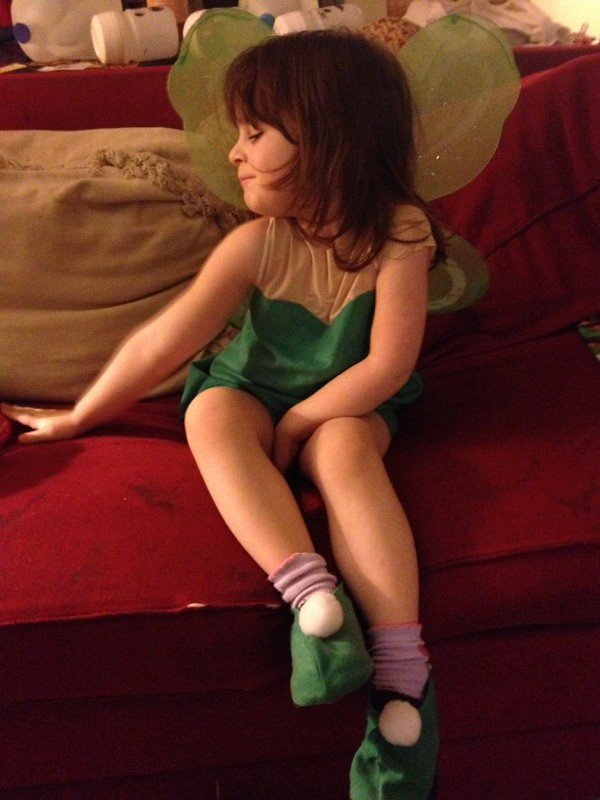
When we got home we put on our Tinkerbell green.


Maddie got a little more into the festivities, wearing last year's costume (made with love by Grandma).

And then we settled in for our movie night, with a feast worthy of the Winter Woods (that's the setting of this movie, Tinkerbell-novices).


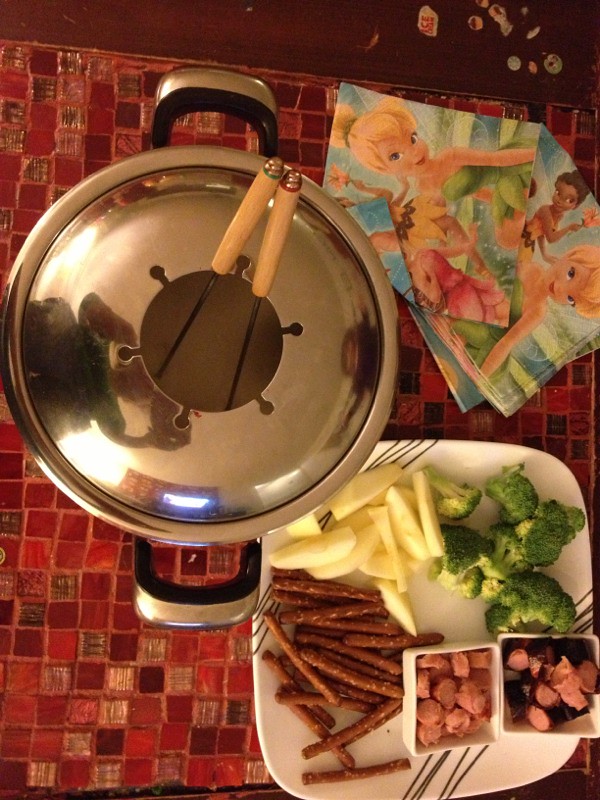
Fondue! This is a really mild version, found in Rachael Ray magazine from October 2008 (yup, found that laying around my house and it proved pretty useful!) I know i said mild fondue and the recipe actually says spicy, but i just skipped the chipotles -- thus mild. For the preschool edition of fondue, I made everything on the stove then transferred to my fondue pot but without a flame. We used hot dogs, broccoli, apples and pretzel sticks for dunking.


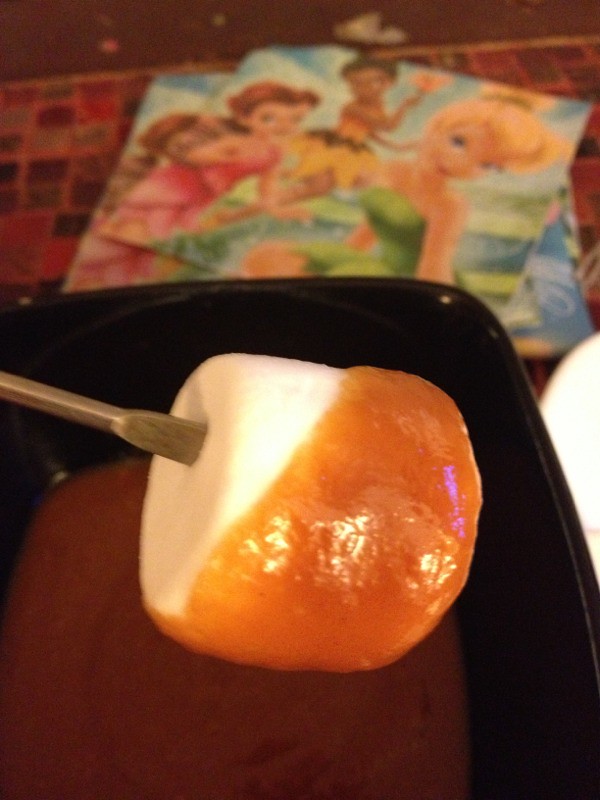
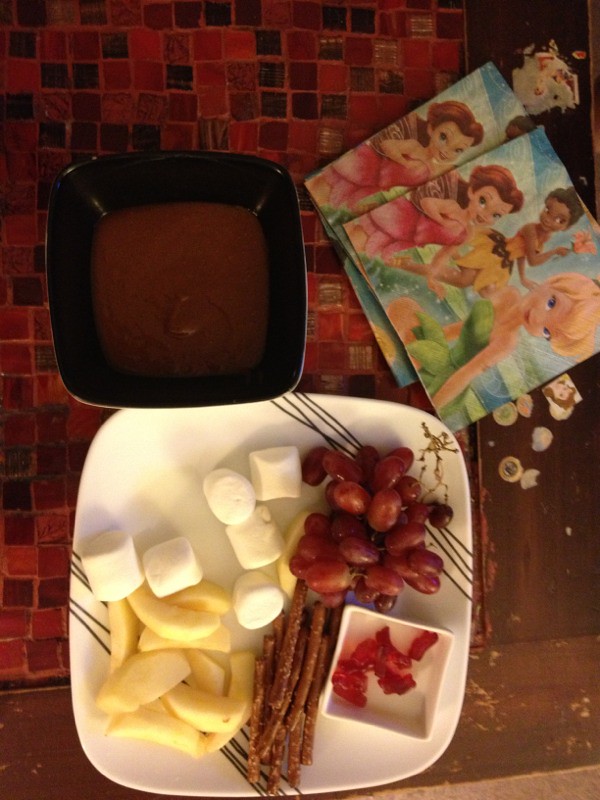
Then came this delectable dessert fondue, from the same Rachael Ray magazine: Butterscotch Fondue.


This time we used more pretzel sticks and apples, plus marshmallows, grapes and Annie's organic bunnies.

After the movie we played a little game to learn about our hearing: Tinkerbell Hide and Seek.


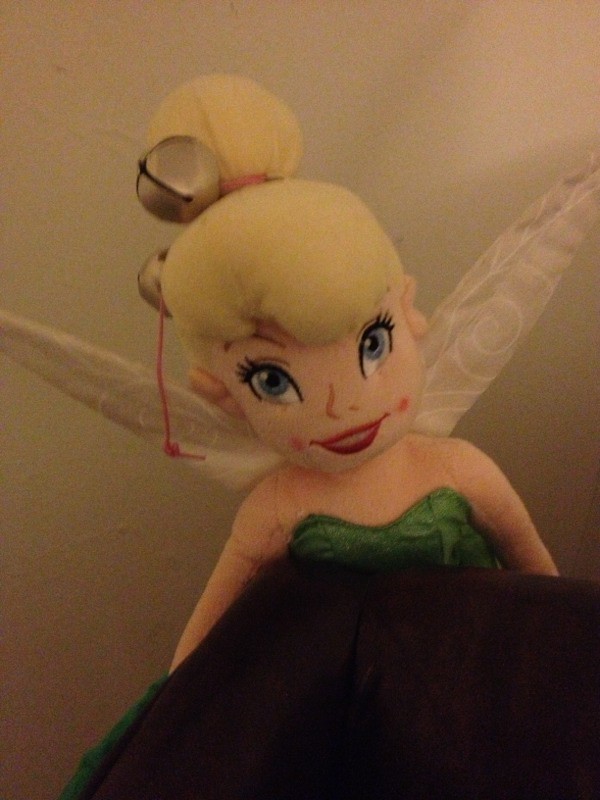
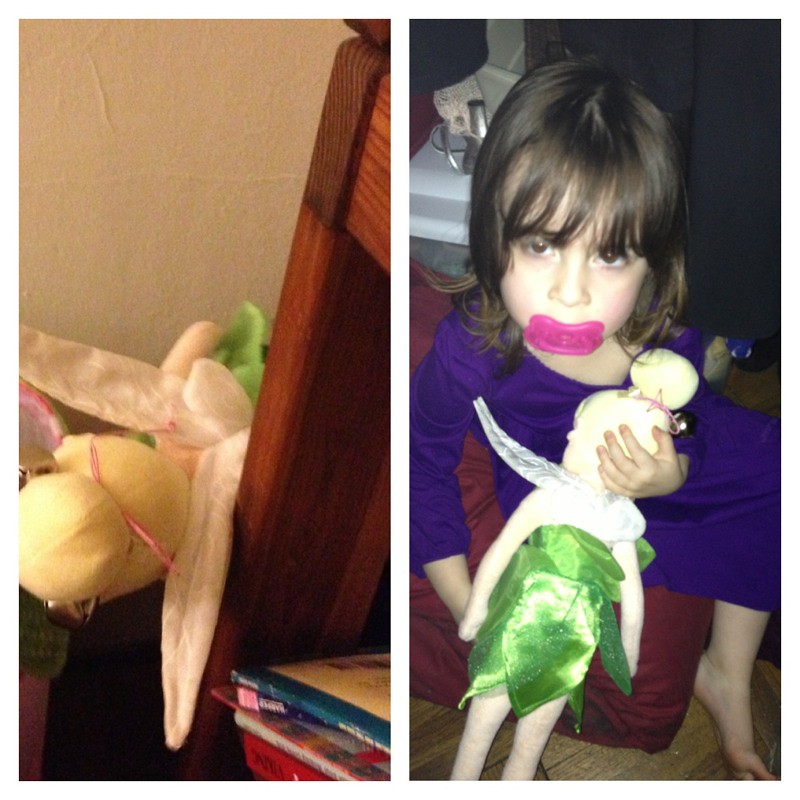
I tied some jingle bells around Tink's hair -- very appropriate since Tinkerbell jingles when she talks. Then we took turns hiding with Tinkerbell and making her jingle. Maddie learned she could follow the sound to find Tinkerbell.


She got pretty into it. Maddie and Tink hide behind a shelf and a closet in the pictures above. Now maybe when we play hide and seek, Maddie will remember this and be quiet when hiding. Probably not.


Saturday, October 20, 2012

Our pumpkin patch


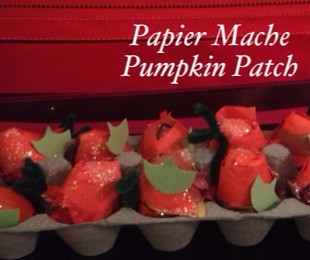
It's almost time for Snoopy to return to the airwaves! And while we wait, we made our own little pumpkin patch.


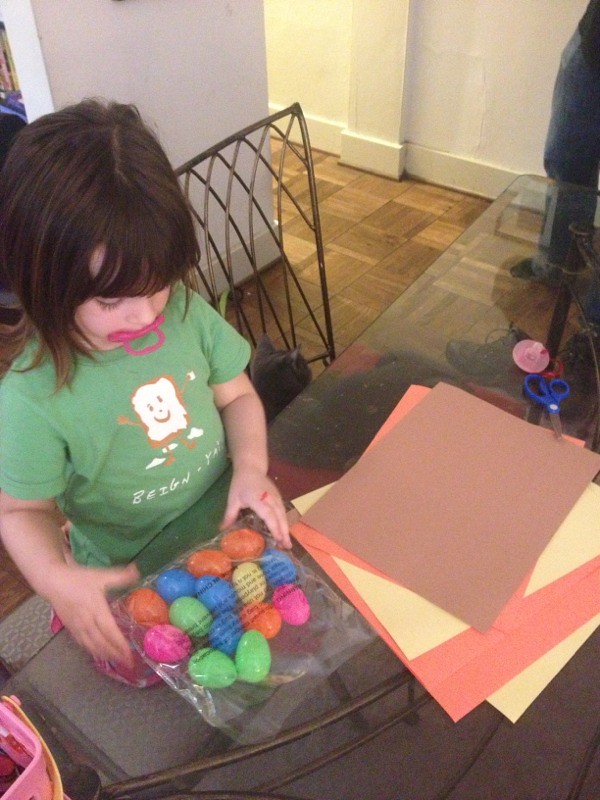
Maddie eyes up our supplies: construction paper, scissors, glue and her favorite, plastic Easter eggs. [A note: yes, I know my three year old still uses a pacify. She has anxiety issues, and so do I. Weekly deposits are being made in the braces fund.]

Here's the step-by-step for making Pumpkin Patch treats:


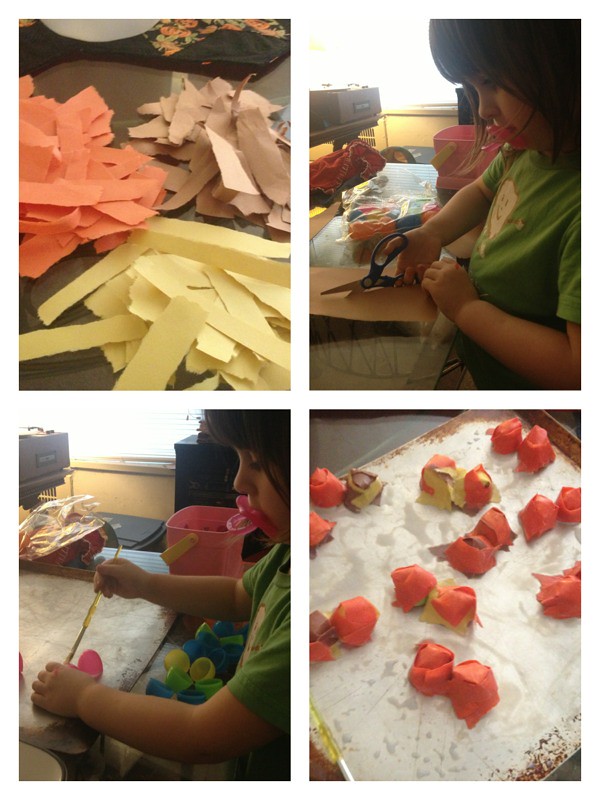
1) Cut or tear orange, yellow and brown construction paper into little strips about 1-2 inches long in varying widths. This is great cutting practice for Maddie. She just went to town on it.

2) Put down a baking sheet under your workspace to make cleanup easy.

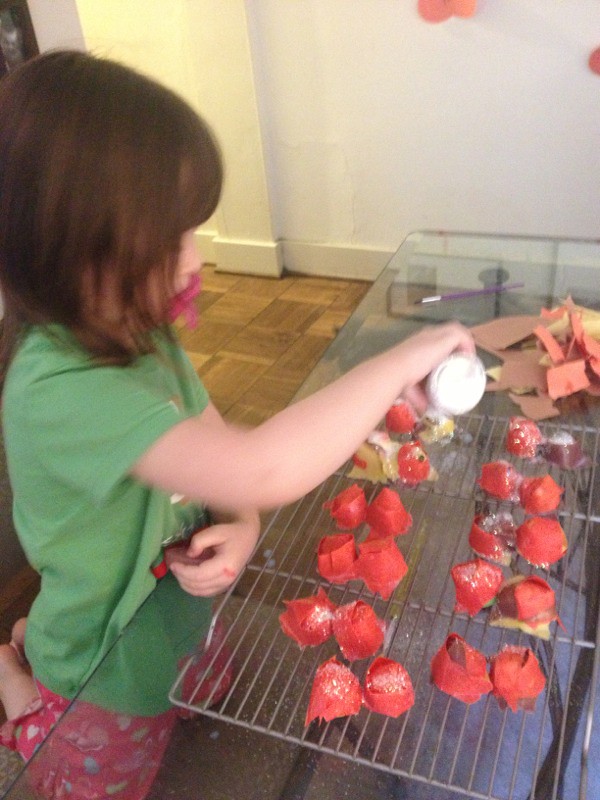
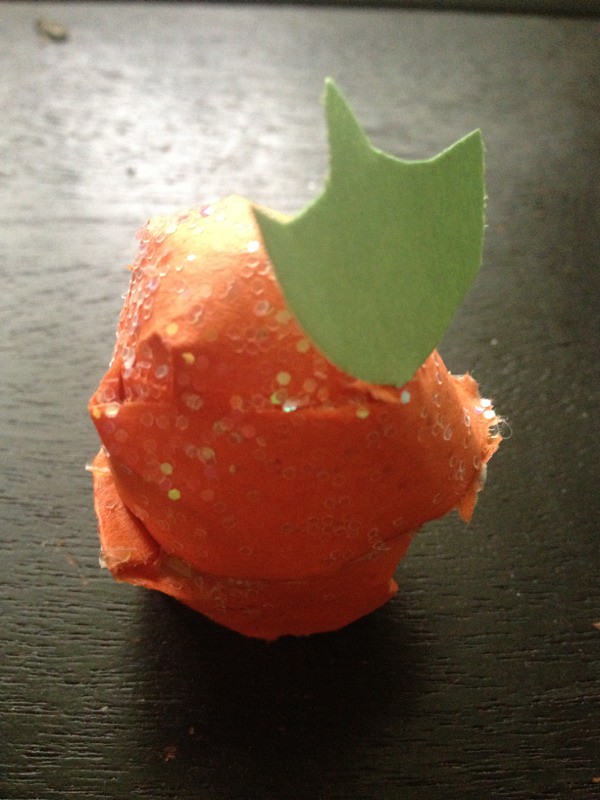
3) Next, mix equal parts Elmer's Glue and warm water. Maddie painted the plastic eggs (make sure they're open first!). Then we got messy and dunked the strips into the glue mixture and wrapped/molded them to the eggs with our hands. You'll need 2-4 layers for each egg. I used brown and yellow paper as a base coat and orange on top, just to give them so depth. (You could also use all orange or go with newsprint and then paint them orange later.)


4) Sprinkle pumpkins with a little white glitter. Everything's better with glitter, but the idea here is "the frost is on the pumpkin"!


5)When thoroughly dry (we left ours on a baking rack overnight), fill eggs with a little handful of M&Ms. Use a little paintbrush and paint Elmer's Glue around the rim (or dab a little hot glue instead). Close eggs and papier mâché shell at the same time, gently pressing closed.


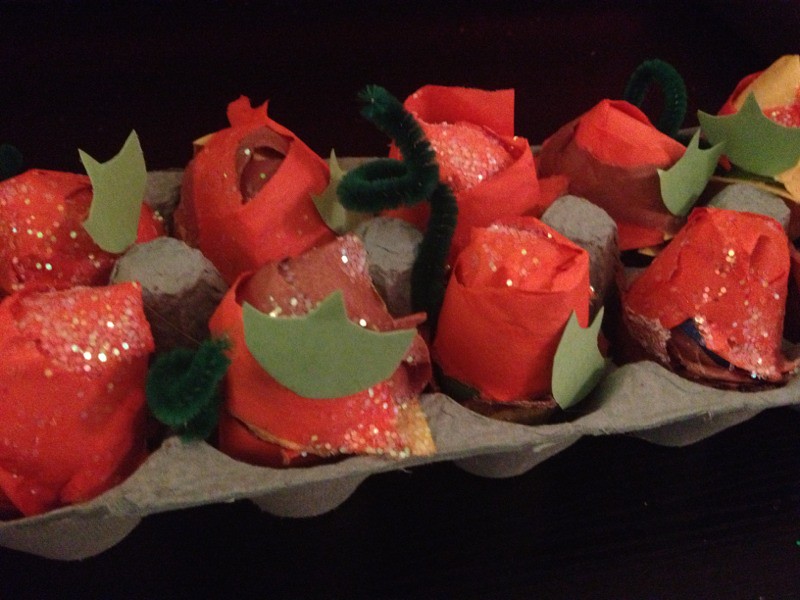
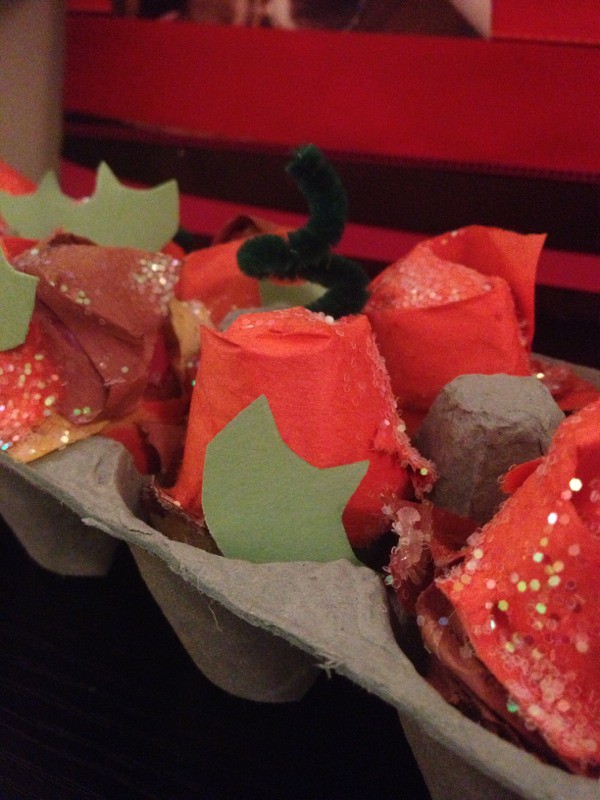
We put our pumpkins in a green colored egg crate to give us the look of a patch or field.


I cut out a few pumpkin leaves to nestle here and there in the patch, dabbing them with a dot of glue to make them stick. A few twisted green pipe cleaners give us a viney look.

Next up, crack open a pumpkin for a special treat!